Publishing content to Pelican site
There are a lot of different ways to get the content for your Pelican site onto the internet. The Docs show an example using rsync.
For automation they talk about the use of either Invoke or Make (although you could also use Just instead of Make which is my preferred command runner.)
I didn't go with any of these options, instead opting to use GitHub Actions instead.
I have two GitHub Actions that will publish updated content. One action publishes to a UAT version of the site, and the other to the Production version of the site.
Why two actions you might ask?
Right now it's so that I can work through making my own theme and deploying it without disrupting the content on my production site. Also, it's a workflow that I'm pretty used to:
- Local Development
- Push to Development Branch on GitHub
- Pull Request into Main on GitHub
It kind of complicates things right now, but I feel waaay more comfortable with having a UAT version of my site that I can just undo if I need to.
Below is the code for the Prod Deployment
1 2 3 4 5 6 7 8 9 10 11 12 13 14 15 16 17 18 19 20 21 22 23 24 25 26 27 28 29 30 31 | |
Let's break it down a bit
Lines 3 - 6 are just indicating when the actually perform the actions in the lines below.
In line 13 I invoke the appleboy/ssh-action@v0.1.2 which allows me to ssh into my server and then run some command line functions.
On line 20 I remove the folder where the code was previously cloned from, and in line 21 I run the git clone command to download the code
Line 23 I activate my virtual environment
Line 25 I copy the code from the cloned repo into the directory of my site
Line 27 I change directory into the source for the site
Line 29 I make any updates to requirements with pip install
Finally, in line 31 I run the command to publish the content (which takes my .md files and turns them into HTML files to be seen on the internet)
Setting up the Server to host my Pelican Site
Creating the user on the server
Each site on my server has it's own user. This is a security consideration, more than anything else. For this site, I used the steps from some of my scripts for setting up a Django site. In particular, I ran the following code from the shell on the server:
adduser --disabled-password --gecos "" ryancheley

adduser ryancheley www-data
The first command above creates the user with no password so that they can't actually log in. It also creates the home directory /home/ryancheley. This is where the site will be server from.
The second commands adds the user to the www-data group. I don't think that's strictly necessary here, but in order to keep this user consistent with the other web site users, I ran it to add it to the group.
Creating the nginx config file
For the most part I cribbed the nginx config files from this blog post.
There were some changes that were required though. As I indicated in part 1, I had several requirements I was trying to fulfill, most notably not breaking historic links.
Here is the config file for my UAT site (the only difference between this and the prod site is the server name on line 3):
1 2 3 4 5 6 7 8 9 10 11 12 13 14 15 16 17 18 19 20 21 22 23 24 25 26 27 28 29 30 31 32 33 34 35 36 37 38 39 40 41 42 43 44 45 46 47 | |
The most interesting part of the code above is the location block from lines 6 - 11.
    location / {
        # Serve a .gz version if it exists
        gzip_static on;
        error_page 404 /404.html;
        rewrite ^/index.php/(.*) /$1  permanent;
    }
Custom 404 Page
error_page 404 /404.html;
This line is what allows me to have a custom 404 error page. If a page is not found nginx will serve up the html page 404.html which is generated by a markdown file in my pages directory and looks like this:
    Title: Not Found
    Status: hidden
    Save_as: 404.html

    The requested item could not be located.
I got this implementation idea from the Pelican docs.
Rewrite rule for index.php in the URL
rewrite ^/index.php/(.*) /$1 permanent;
The rewrite line fixes the index.php challenge I mentioned in the previous post
It took me a really long time to figure this out because the initial config file had a location block that looked like this:
1 2 3 4 5 | |
I didn't recognize the location = / { on line 1 as being different than the location block above starting at line 6. So I added
rewrite ^/index.php/(.*) /$1 permanent;
to that block and it NEVER worked because it never could.
The = in the location block indicates a literal exact match, which the regular expression couldn't do because it's trying to be dynamic, but the = indicates static 🤦🏻♂️
OK, we've got a user, and we've got a configuration file, now all we need is a way to get the files to the server.
I'll go over that in the next post.
Getting your Domain to point to Digital Ocean Your Server
I use Hover for my domain purchases and management. Why? Because they have a clean, easy to use, not-slimy interface, and because I listed to enough Tech Podcasts that I’ve drank the Kool-Aid.
When I was trying to get my Hover Domain to point to my Digital Ocean server it seemed much harder to me than it needed to be. Specifically, I couldn’t find any guide on doing it! Many of the tutorials I did find were basically like, it’s all the same. We’ll show you with GoDaddy and then you can figure it out.
Yes, I can figure it out, but it wasn’t as easy as it could have been. That’s why I’m writing this up.
Digital Ocean
From Droplet screen click ‘Add a Domain’
<figure class="aligncenter">
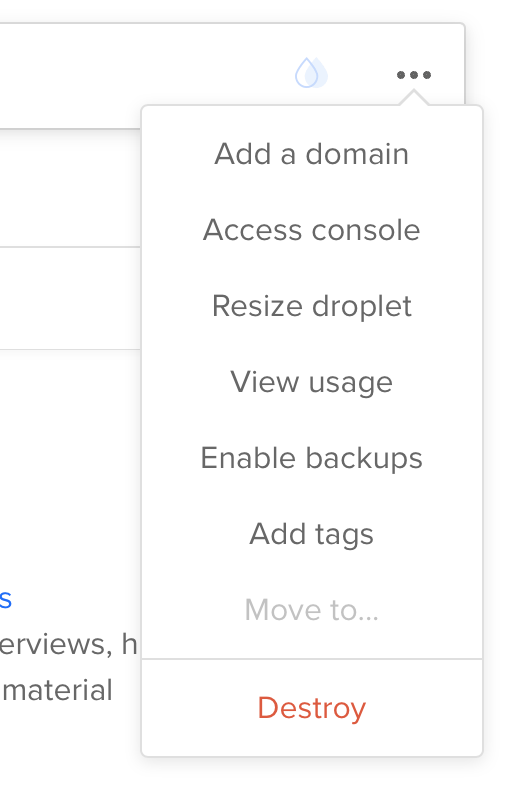
</p>
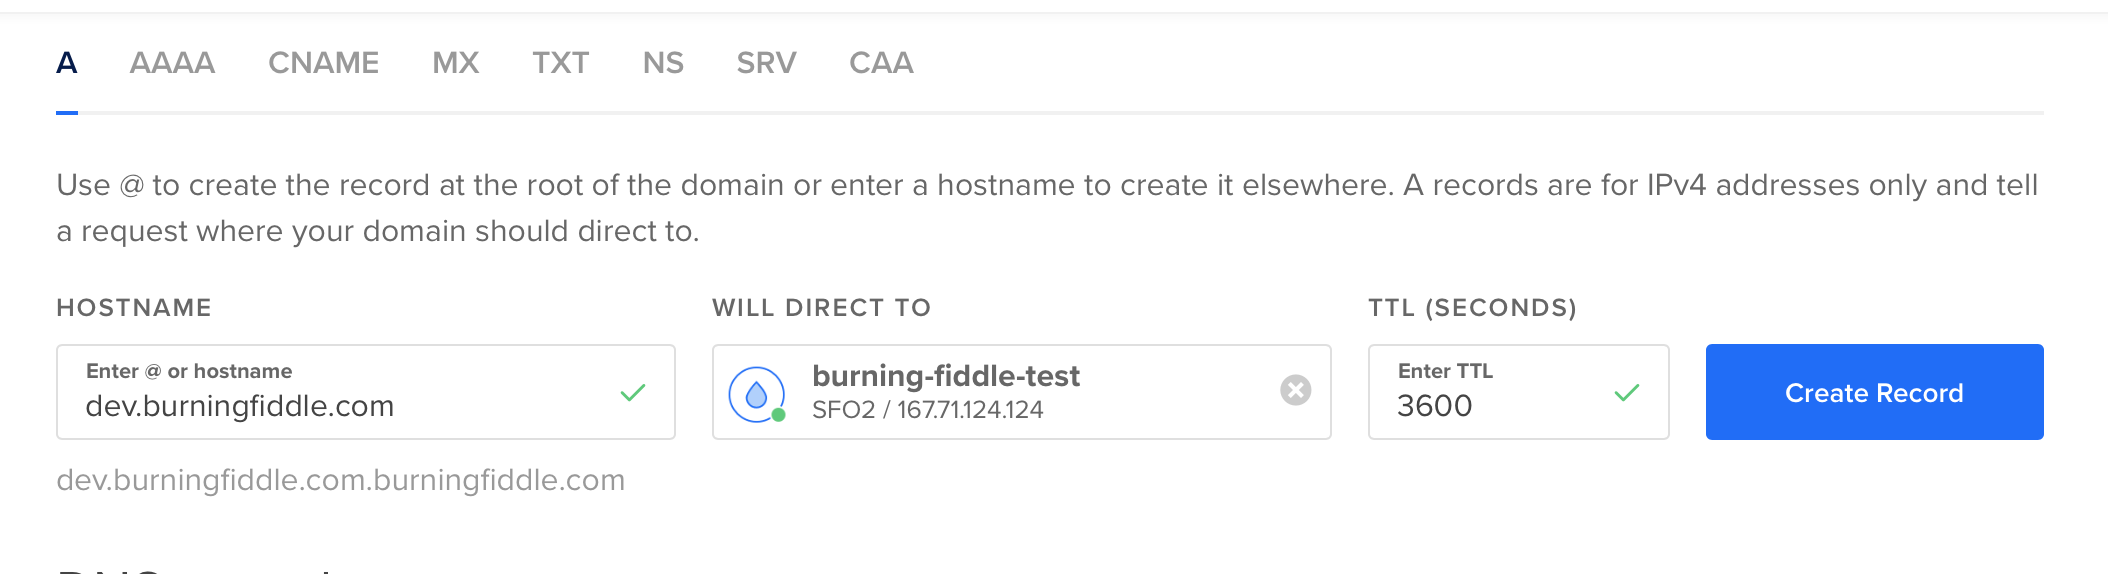
Add 2 ‘A’ records (one for www and one without the www)
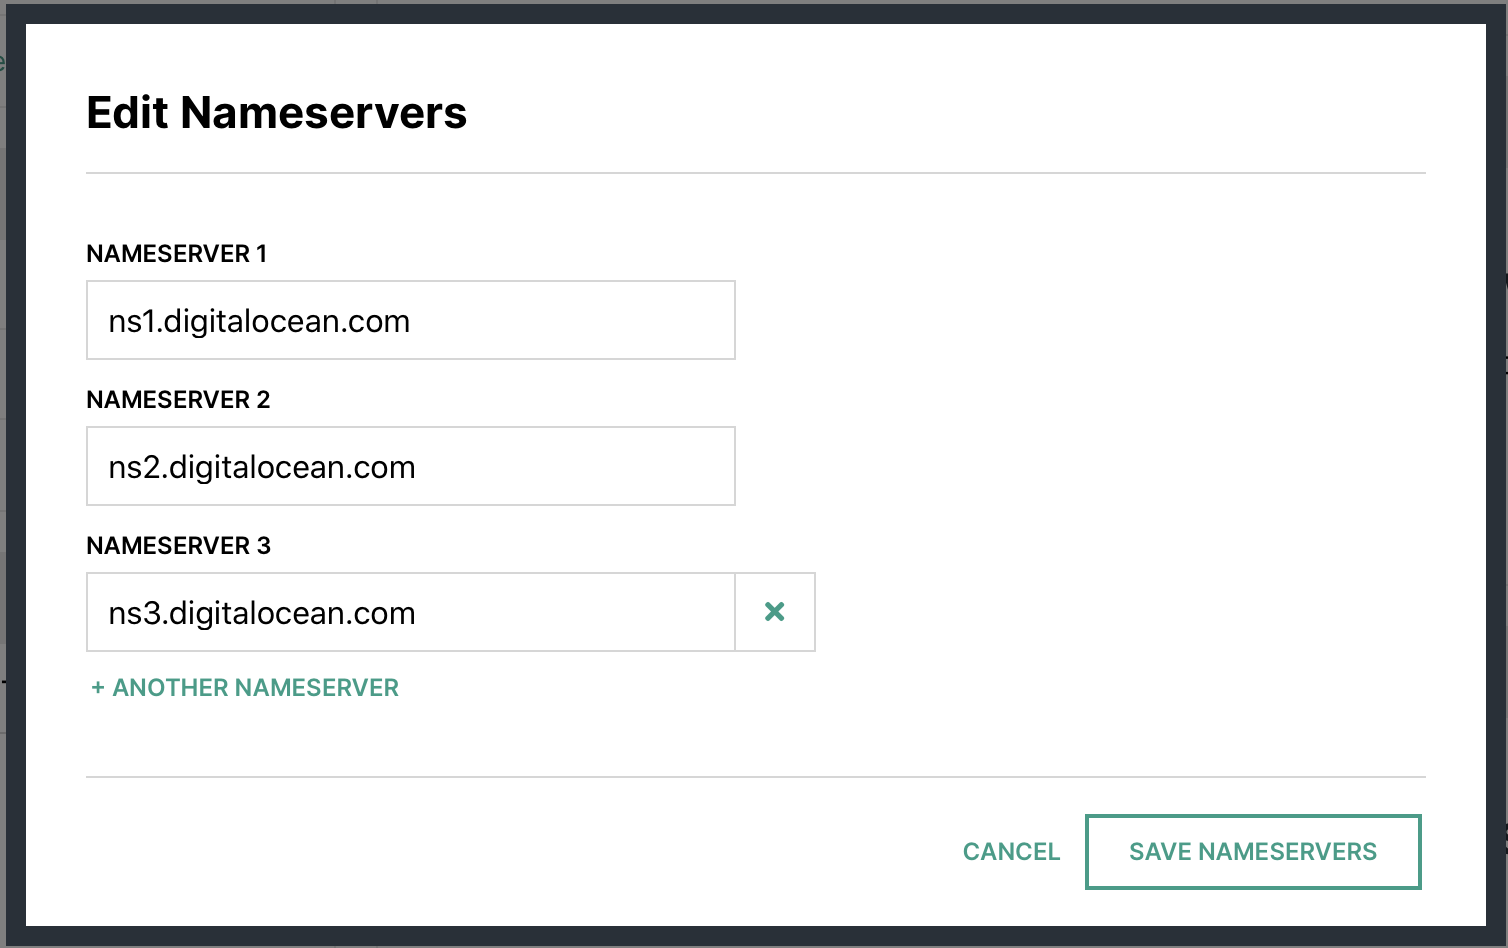
Make note of the name servers

Hover
In your account at Hover.com change your Name Servers to Point to Digital Ocean ones from above.
Wait
DNS … does anyone really know how it works?1 I just know that sometimes when I make a change it’s out there almost immediately for me, and sometimes it takes hours or days.
At this point, you’re just going to potentially need to wait. Why? Because DNS that’s why. Ugh!
Setting up directory structure
While we’re waiting for the DNS to propagate, now would be a good time to set up some file structures for when we push our code to the server.
For my code deploy I’ll be using a user called burningfiddle. We have to do two things here, create the user, and add them to the www-data user group on our Linux server.
We can run these commands to take care of that:
adduser --disabled-password --gecos "" yoursite
The first line will add the user with no password and disable them to be able to log in until a password has been set. Since this user will NEVER log into the server, we’re done with the user creation piece!
Next, add the user to the proper group
adduser yoursite www-data
Now we have a user and they’ve been added to the group we need them to be added. In creating the user, we also created a directory for them in the home directory called yoursite. You should now be able to run this command without error
ls /home/yoursite/
If that returns an error indicating no such directory, then you may not have created the user properly.
Now we’re going to make a directory for our code to be run from.
mkdir /home/yoursite/yoursite
To run our Django app we’ll be using virtualenv. We can create our virtualenv directory by running this command
python3 -m venv /home/yoursite/venv
Configuring Gunicorn
There are two files needed for Gunicorn to run:
- gunicorn.socket
- gunicorn.service
For our setup, this is what they look like:
# gunicorn.socket

[Unit]
Description=gunicorn socket

[Socket]
ListenStream=/run/gunicorn.sock

[Install]
WantedBy=sockets.target
# gunicorn.service

[Unit]
Description=gunicorn daemon
Requires=gunicorn.socket
After=network.target

[Service]
User=yoursite
EnvironmentFile=/etc/environment
Group=www-data
WorkingDirectory=/home/yoursite/yoursite
ExecStart=/home/yoursite/venv/bin/gunicorn
         --access-logfile -
         --workers 3
         --bind unix:/run/gunicorn.sock
         yoursite.wsgi:application


[Install]
WantedBy=multi-user.target
For more on the details of the sections in both gunicorn.service and gunicorn.socket see this article.
Environment Variables
The only environment variables we have to worry about here (since we’re using SQLite) are the DJANGO_SECRET_KEY and DJANGO_DEBUG
We’ll want to edit /etc/environment with our favorite editor (I’m partial to vim but use whatever you like
vim /etc/environment
In this file you’ll add your DJANGO_SECRET_KEY and DJANGO_DEBUG. The file will look something like this once you’re done:
PATH="/usr/local/sbin:/usr/local/bin:/usr/sbin:/usr/bin:/sbin:/bin:/usr/games:/usr/local/games"
DJANGO_SECRET_KEY=my_super_secret_key_goes_here
DJANGO_DEBUG=False
Setting up Nginx
Now we need to create our .conf file for Nginx. The file needs to be placed in /etc/nginx/sites-available/$sitename where $sitename is the name of your site. fn
The final file will look (something) like this fn
server {
    listen 80;
    server_name www.yoursite.com yoursite.com;

    location = /favicon.ico { access_log off; log_not_found off; }
    location /static/ {
        root /home/yoursite/yoursite/;
    }

    location / {
        include proxy_params;
        proxy_pass http://unix:/run/gunicorn.sock;
    }
}
The .conf file above tells Nginx to listen for requests to either www.buringfiddle.com or buringfiddle.com and then route them to the location /home/yoursite/yoursite/ which is where our files are located for our Django project.
With that in place all that’s left to do is to make it enabled by running replacing $sitename with your file
ln -s /etc/nginx/sites-available/$sitename /etc/nginx/sites-enabled
You’ll want to run
nginx -t
to make sure there aren’t any errors. If no errors occur you’ll need to restart Nginx
systemctl restart nginx
The last thing to do is to allow full access to Nginx. You do this by running
ufw allow 'Nginx Full'
- Probably just [Julia Evans](https://jvns.ca/blog/how-updating-dns-works/ ↩︎
Setting up the Server (on Digital Ocean)
The initial setup
Digital Ocean has a pretty nice API which makes it easy to automate the creation of their servers (which they call Droplets. This is nice when you’re trying to work towards automation of the entire process (like I was).
I won’t jump into the automation piece just yet, but once you have your DO account setup (sign up here if you don’t have one), it’s a simple interface to Setup Your Droplet.
I chose the Ubuntu 18.04 LTS image with a \$5 server (1GB Ram, 1CPU, 25GB SSD Space, 1000GB Transfer) hosted in their San Francisco data center (SFO21).
We’ve got a server … now what?
We’re going to want to update, upgrade, and install all of the (non-Python) packages for the server. For my case, that meant running the following:
apt-get update
apt-get upgrade
apt-get install python3 python3-pip python3-venv tree postgresql postgresql-contrib nginx
That’s it! We’ve now got a server that is ready to be setup for our Django Project.
In the next post, I’ll walk through how to get your Domain Name to point to the Digital Ocean Server.
- SFO2 is disabled for new customers and you will now need to use SFO3 unless you already have resources on SFO2, but if you’re following along you probably don’t. What’s the difference between the two? Nothing 😁 ↩︎
SSL ... Finally!
I’ve been futzing around with SSL on this site since last December. I’ve had about 4 attempts and it just never seemed to work.
Earlier this evening I was thinking about getting a second Linode just to get a fresh start. I was this close to getting it when I thought, what the hell, let me try to work it out one more time.
And this time it actually worked.
I’m not really sure what I did differently, but using this site seemed to make all of the difference.
The only other thing I had to do was make a change in the word press settings (from http to https) and enable a plugin Really Simple SSL and it finally worked.
I even got an ‘A’ from SSL Labs!
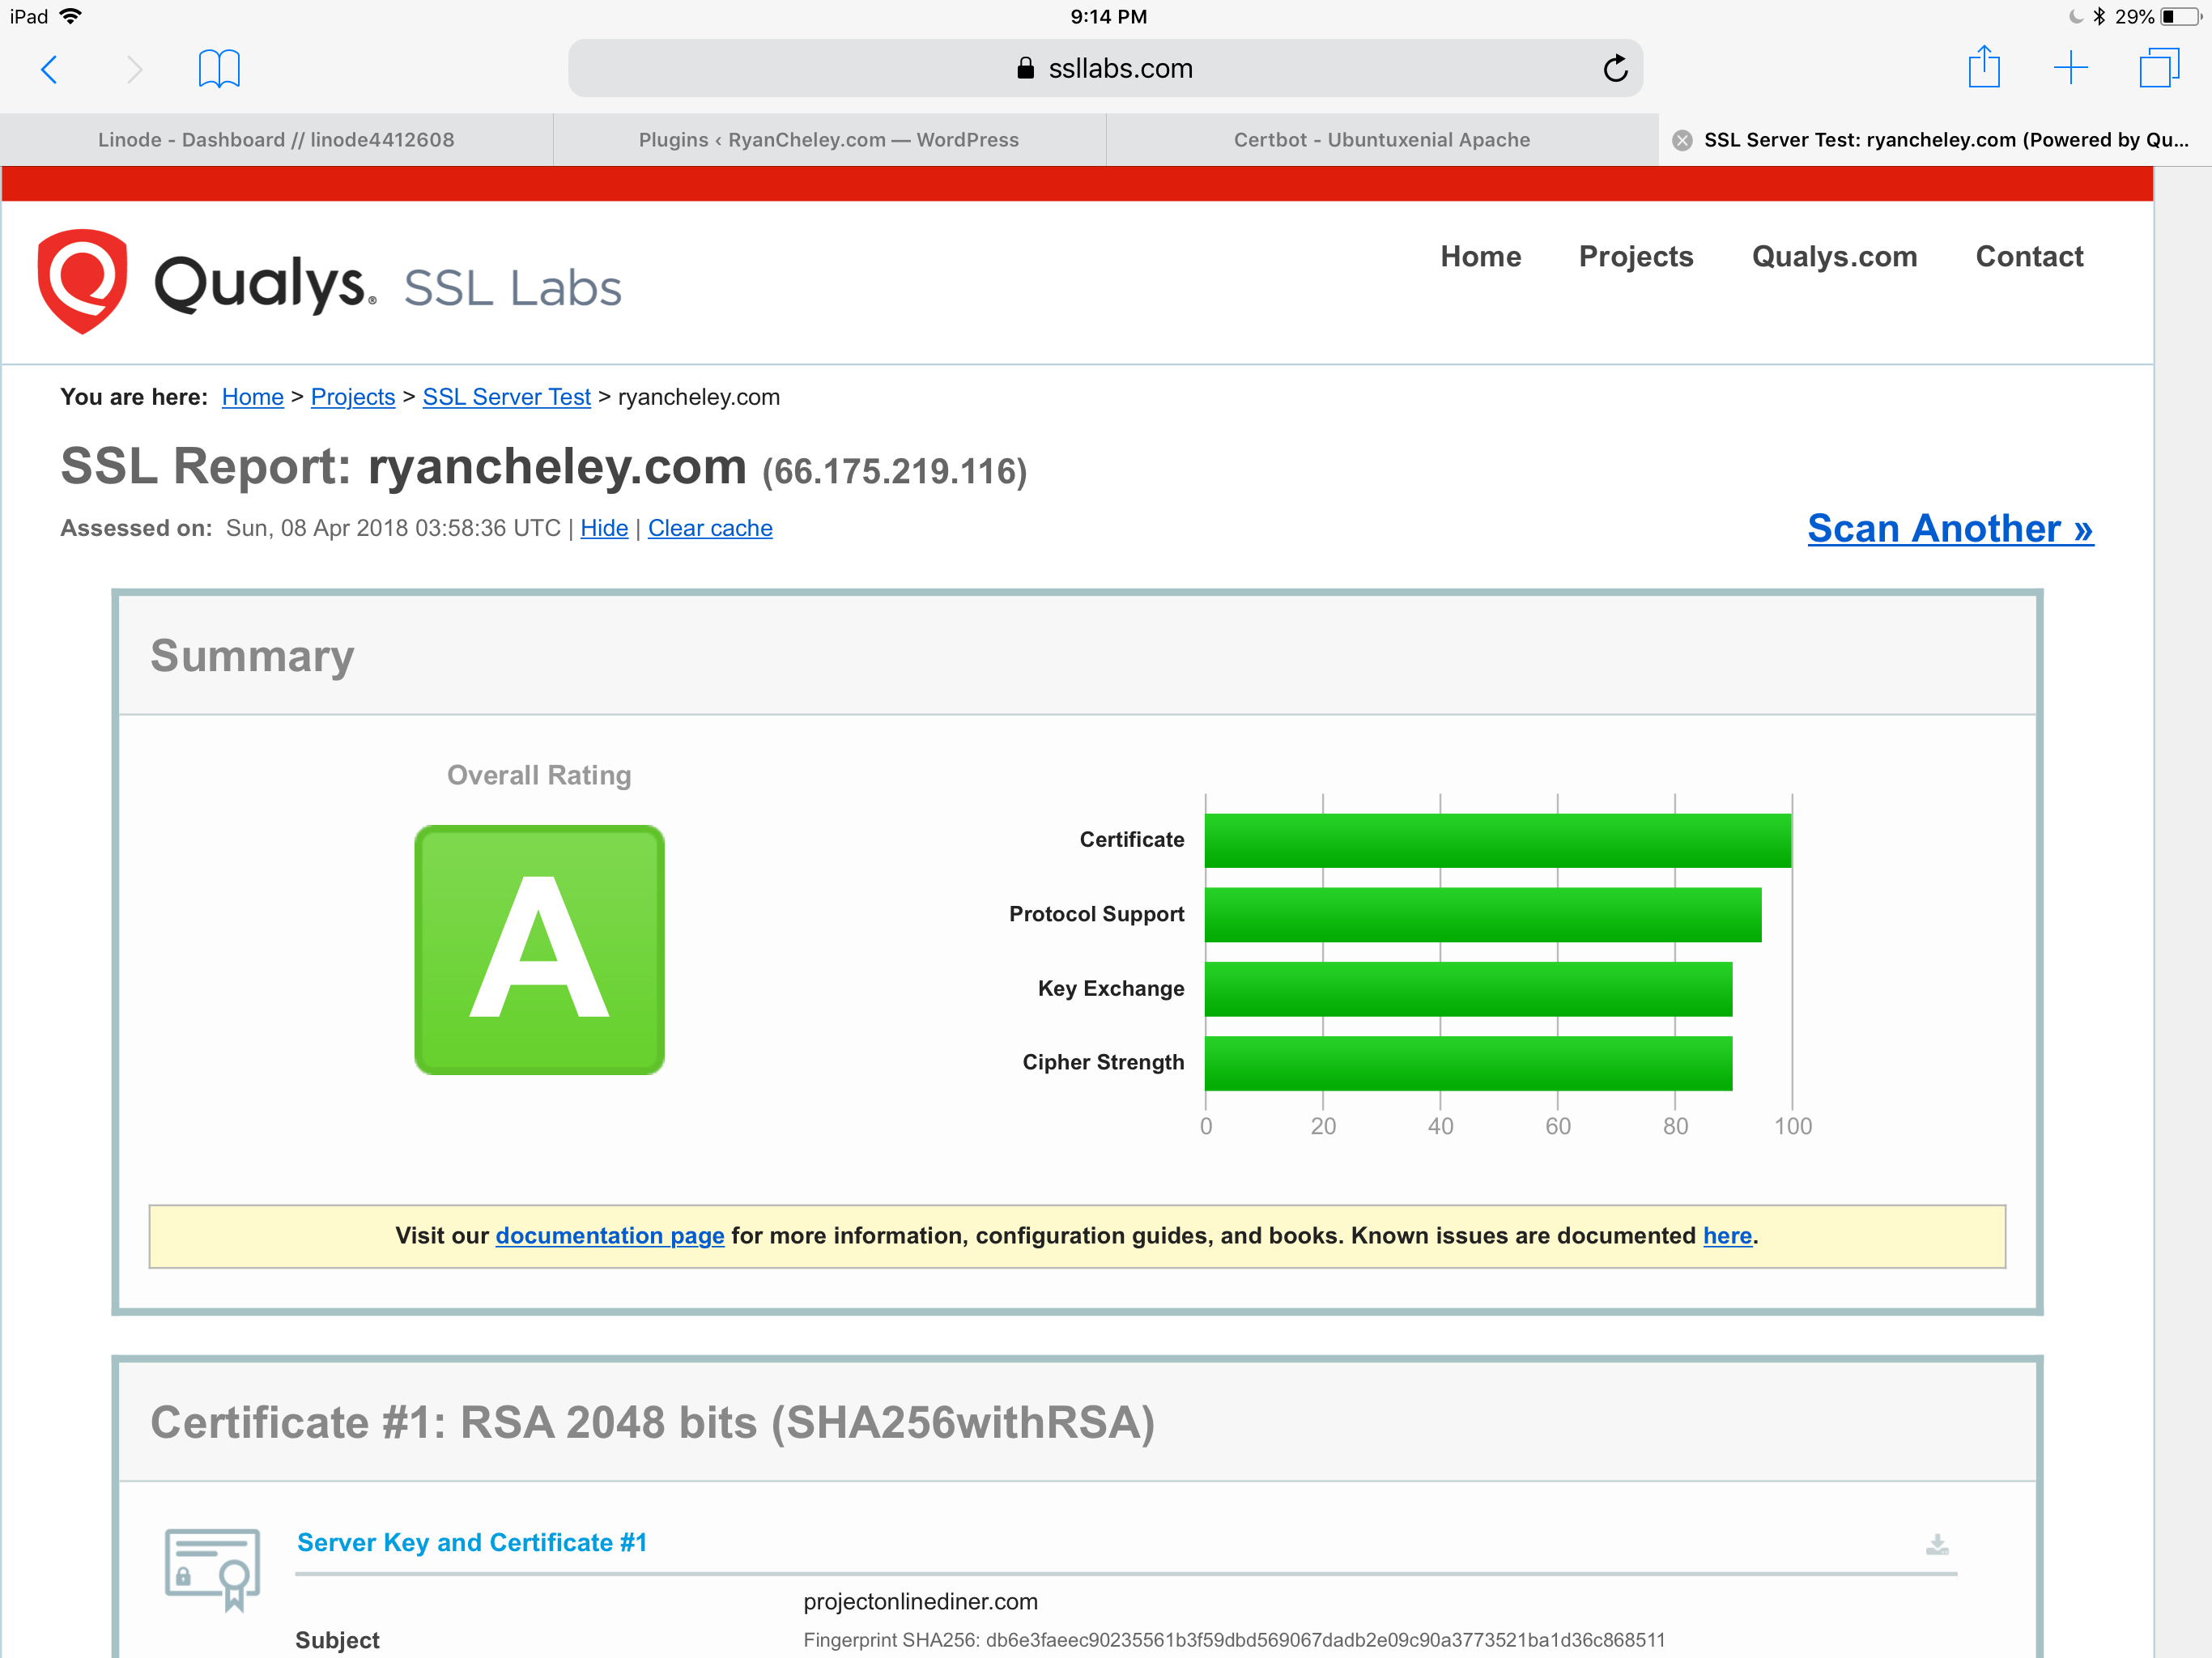
Again, not really sure why this seemed so hard and took so long.
I guess sometimes you just have to try over and over and over again
Setting the Timezone on my server
When I scheduled my last post on December 14th to be published at 6pm that night I noticed that the schedule time was a bit … off:
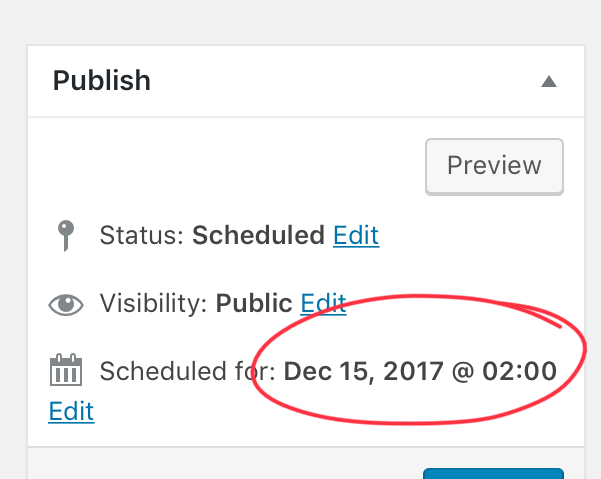
I realized that the server times as still set to GMT and that I had missed the step in the Linode Getting Started guide to Set the Timezone.
No problem, just found the Guide, went to this section and ran the following command:
sudo dpkg-reconfigure tzdata
I then selected my country (US) and my time zone (Pacific-Ocean) and now the server has the right timezone.
Setting up the site with SSL
I’ve written about my migration from Squarespace to Wordpress earlier this year. One thing I lost with that migration when I went to Wordpress in AWS was having SSL available. While I’m sure Van Hoet will “well actually” me on this, I never could figure out how to set it up ( not that I tried particularly hard ).
The thing is now that I’m hosting on Linode I’m finding some really useful tutorials. This one showed me exactly what I needed to do to get it set up.
Like any good planner I read the how to several times and convinced myself that it was actually relatively straight forward to do and so I started.
Step 1 Creating the cert files
Using this tutorialI was able to create the required certificates to set up SSL. Of course, I ran into an issue when trying to run this command
chmod 400 /etc/ssl/private/example.com.key
I did not have persmision to chmod on that file. After a bit of Googling I found that I can switch to interactive root mode by running the command
sudo -i
It feels a bit dangerous to be able to just do that (I didn’t have to enter a password) but it worked.
Step 2
OK, so the tutorial above got me most(ish) of the way there, but I needed to sign my own certificate. For that I used this tutorial. I followed the directions but kept coming up with an error:
Problem binding to port 443: Could not bind to the IPv4 or IPv6
I rebooted my Linode server. I restarted apache. I googled and I couldn’t find the answer I was looking for.
I wanted to give up, but tried Googling one more time. Finally! An answer so simple it couldn’t work. But then it did.
Stop Apache, run the command to start Apache back up and boom. The error went away and I had a certificate.
However, when I tested the site using SSL LabsI was still getting an error / warning for an untrusted site.
🤦🏻♂️
—
OK ... take 2
I nuked my linode host to start over again.
First things first ... we need to needed to secure my server. Next, we need to set up the server as a LAMP and Linode has this tutorial to walk me through the steps of setting it up.
I ran into an issue when I restarted the Apache service and realized that I had set my host name but hadn’t update the hosts file. No problem though. Just fire up vim and make the additional line:
127.0.0.1 milo
Next, I used this tutorial to create a self signed certificate and this to get the SSL to be set up.
One thing that I expected was that it would just work. After doing some more reading what I realized was that a self signed certificate is useful for internal applications. Once I realized this I decided to not redirect to SSL (i.e. part 443) for my site but instead to just use the ssl certificate it post from Ulysses securely.
Why go to all this trouble just too use a third party application to post to a WordPress site? Because Ulysses is an awesome writing app and I love it. If you’re writing and not using it, I’d give it a try. It really is a nice app.
So really, no good reason. Just that. And, I like to figure stuff out.
OK, so Ulysses is great. But why the need for an SSL certificate? Mostly because when I tried to post to Wordpress from Ulysses without any certificates ( self signed or not ) I would get a warning that my traffic was unencrypted and could be snooped. I figured, better safe than sorry.
Now with the ssl cert all I had to do was trust my self signed certificate and I was set1
- Mostly. I still needed to specify the domain with www otherwise it didn’t work. ↩︎
Switching to Linode
Switching to Linode
I’ve been listening to a lot of Talk Python to me lately ... I mean a lot. Recently there was a coupon code for Linode that basically got you four months free with a purchase of a single month, so I thought, ‘what the hell’?
Anyway, I have finally been able to move everything from AWS to Linode for my site and I’m able to publish from my beloved Ulysses.
Initially there was an issue with xmlrpc which I still haven’t fully figured out.
I tried every combination of everything and finally I’m able to publish.
I’m not one to look a gift horse in the mouth so I’ll go ahead and take what I can get. I had meant to document a bit more / better what I had done, but since it basically went from not working to working, I wouldn’t know what to write at this point.
The strangest part is that from the terminal the code I was using to test the issue still returns and xmlrpc faultCode error of -32700 but I’m able to connect now.
I really wish i understood this better, but I’m just happy that I’m able to get it all set and ready to go.
Next task ... set up SSL!